5.31.2011

Tutorial: How to Sew an Infinity Scarf


I love the idea of creating a spring or fall scarf that is lightweight -- just substantial enough to keep off the chill, but not so heavy so that it can be worn in the in between days of the year.  I know I LIVE in scarves in the wintertime, and this infinity scarf means I can extend my scarf wearing days even more!

The material I chose was about 54" wide, so I simply purchased two 1/3 yard cuts of fabric.  If you choose to use quilting fabric that is about 44" inches wide or so, I would purchase the length of fabric needed rather than the wide, as I have done.

The first time I made this scarf, even with trial and error, ripping out part of seam and figuring out how one end of the scarf linked to the other end, it took me less than 30 minutes!  This could literally be a 15 minute project for a super cute accessory!

Materials:
two rectangles of contrasting lightweight fabric, about 12" x 54"
           (I used voile prints from Anna Maria Horner's Little Folks collection)
Pins
Coordinating or contrasting spool of thread
Iron

Step 1:
With right sides together, sew the long sides of the fabric together with a 1/2" seam allowance as shown.


Step 2: 
Turn right side out and press.  On one end, turn under the raw edges to the inside about 1" and press. Leave the other end as is.


Step 3:
Twist the scarf once and insert the end with the raw edges about one inch inside the end with the folded and pressed edge.  Pin.  Twisting the scarf once should mean that when the ends of the scarf are joined together, the contrasting fabrics butt up against each other.


Step 4:
About 1/2" from the folded edge, sew a straight seam across the width of the scarf, backstitching on each end. 

VOILA!  A finished scarf!  You could topstitch along the edge of the whole scarf if you would like it to lay a bit flatter and look more structured.  I prefer the scarf without the topstitching, because it is a little bit looser and billows a bit more freely.


{ visit www.jengiddens.com & click on tutorials for a PDF version of this tutorial! }

5.26.2011

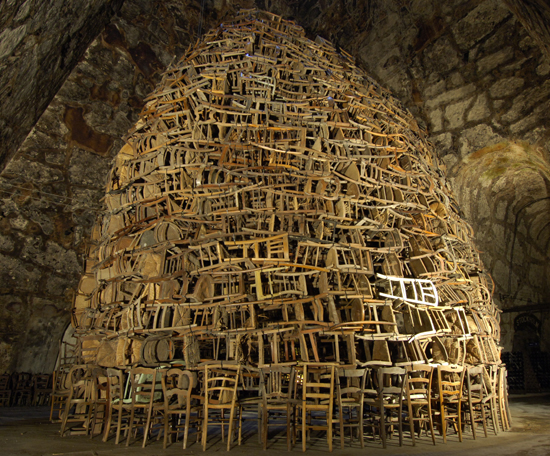
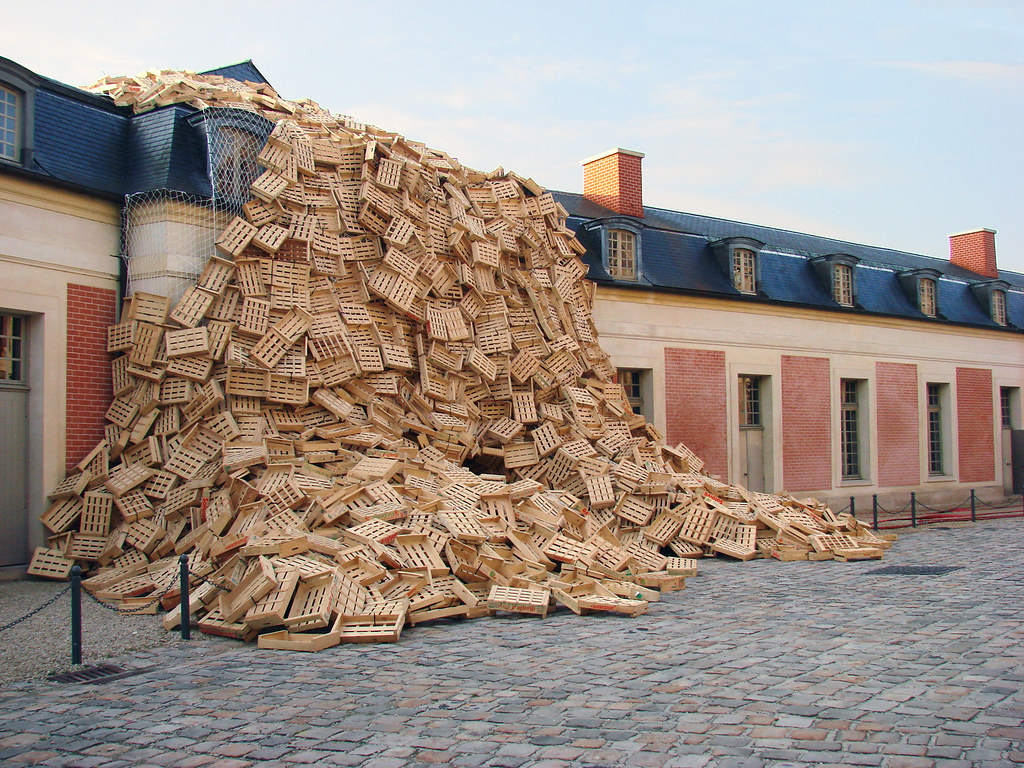
amazing installations!

Tadashi Kawamata, how did I not know about you before?
Now I just need to find me 1,000 wooden chairs and a huge dome to pile them in...


5.25.2011

I'm on Facebook!

I've been on Facebook for a while now with my personal account, but I just took the step to put up a business page for my sewing pattern business!

Find it here

5.19.2011

Anna Maria Horner's booth at Market

Anna Maria's booth at Market was just so beautiful, I couldn't take just one photo.  Unfortunately, every time I had a minute to sneak over to her booth to say hello, she was either gone or busy chatting up all her fans!  Boo.  Oh well, at least I got to gawk at her gorgeous booth in solitude.


some of my favorite fabric and pattern designers!

Joel Dewberry!

Amy Butler!

Lizzy House!

Alyssa from Penguin & Fish!

more quilt market photos...

I couldn't have done it without my friend Lindsey's help! (Thank you, Lindsey!)


I hung all of the bags, plus a printout of my fabric designs, from carabiners.  The carabiners attached to washers, which I stitched to canvas.  The canvas also had the names of each bag printed on it so that people could easily see which pattern belonged to which bag.


Close up of the huge applique logo!

5.14.2011

first day at quilt market

My first day at Market was a success!  More about it later, when the craziness is all over :)


Hello, there!

Oh, look!  It's my mom!


The lovely finished quilt.... quilted by the amazing Sue Baddley of Summit Creek Quilts!


My logo is a giant applique!


Purses hanging from carbiners attached to washers and canvas.

spring (market) is in the air

I've been so busy with preparations for Quilt Market and for the Market itself (only one more day!!) that I haven't had a chance to post photos of my progress!


My fabric arrived from Spoonflower a week before Market... so I got cracking and sewed up all of my bags and had time to make a small quilt, too.  The quilt is the Kitchen Window quilt from Elizabeth Hartman's book, The Practical Guide to Patchwork.


Smith & Edwards is the most amazing store ever!  Their slogan is "We have everything... if you can find it".  SO true.  It took me a bit, but I walked away with heavy canvas for my booth "walls" and carabiners and washers for hanging my bags.


Knee deep in canvas! 


Canvas is up, and now we can start hanging the bags...

graduation!


 I graduated!  May 7th marked the last day of a long journey in college... I started fresh out of high school at the University of Pittsburgh as an English writing major, and 3 schools and 8 years later, I graduated with a degree in Interior Design from Utah State University.  I also moved 5 times and have lived in 4 states since I left Pittsburgh!  What a crazy ride it has been.


My dad and I with the Wellsvilles in the background.


Graduation dinner at Le Nonne, one of my favorite little restaurants in Logan!


Our little house.  A bit ramshackle, maybe, but it has served us well for the past few years.  Notice the moving truck in that first photo --- our next stop is Denver!

Spring is (finally) here!

Okay, I have to backtrack a bit. Blogging has been on the slow side lately, given a super busy last semester (!) at school, preparing for Quilt Market, and preparing for a new city. But still, spring didn't arrive TOO long ago in my town in northern Utah, so here we go: