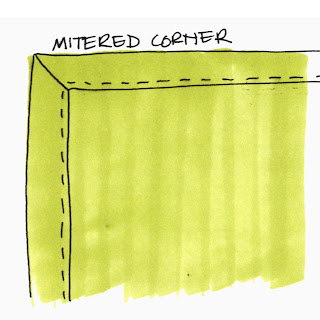
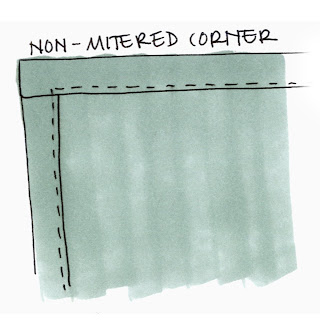
Although cloth napkins can easily be made by simply turning under the edges on each side, a mitered corner will give you a cleaner, more professional look. This tutorial will show you how to create mitered corners on your napkins.
1. Cut your fabric into squares of your chosen size (12" or 14" square napkins are common, bump it up to 16" if you'd like them to be oversized). Be sure to cut along the grain of the fabric (in other words, align your squares so that 2 sides are parallel to the selvage edges of the fabric).
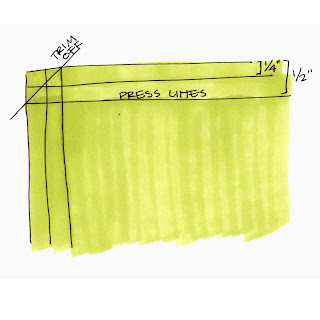
2. Press each edge under 1/4"
3. Press each edge under another 1/4". Your fabric will look like the drawing below. Note where I have drawn a trim line. Cut the fabric corners along the trim line. This will reduce the bulk of the corners and make the fabric lay nicely.
4. Now press the cut corners under 1/4".
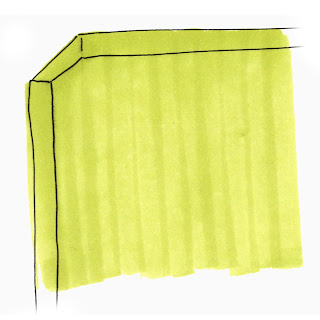
5. Fold along your second set of press lines. The corners should now be mitered. Stitch around each napkin close to the hem line.


Thank You! I needed a quick: How was it again? and this is the most amazingly beautiful, succinct tut ever!
ReplyDeleteThank YOU!