I love the idea of creating a spring or fall scarf that is lightweight -- just substantial enough to keep off the chill, but not so heavy so that it can be worn in the in between days of the year. I know I LIVE in scarves in the wintertime, and this infinity scarf means I can extend my scarf wearing days even more!
The material I chose was about 54" wide, so I simply purchased two 1/3 yard cuts of fabric. If you choose to use quilting fabric that is about 44" inches wide or so, I would purchase the length of fabric needed rather than the wide, as I have done.
The first time I made this scarf, even with trial and error, ripping out part of seam and figuring out how one end of the scarf linked to the other end, it took me less than 30 minutes! This could literally be a 15 minute project for a super cute accessory!
Materials:
two rectangles of contrasting lightweight fabric, about 12" x 54"
(I used voile prints from Anna Maria Horner's Little Folks collection)
Pins
Coordinating or contrasting spool of thread
Iron
Step 1:
With right sides together, sew the long sides of the fabric together with a 1/2" seam allowance as shown.

Step 2:
Turn right side out and press. On one end, turn under the raw edges to the inside about 1" and press. Leave the other end as is.

Step 3:
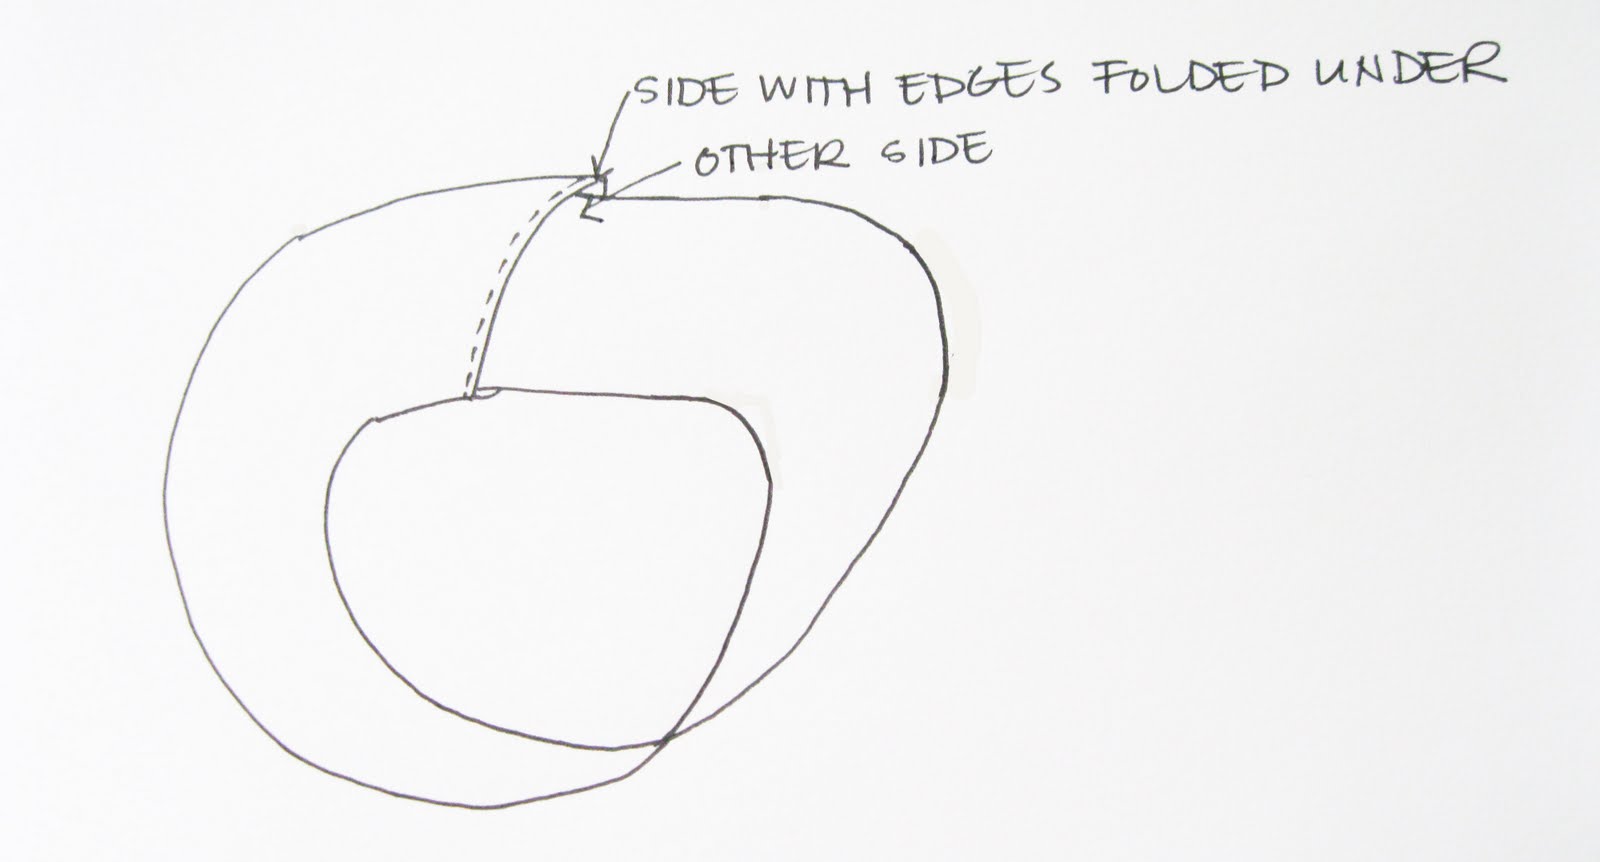
Twist the scarf once and insert the end with the raw edges about one inch inside the end with the folded and pressed edge. Pin. Twisting the scarf once should mean that when the ends of the scarf are joined together, the contrasting fabrics butt up against each other.
Step 4:
About 1/2" from the folded edge, sew a straight seam across the width of the scarf, backstitching on each end.
VOILA! A finished scarf! You could topstitch along the edge of the whole scarf if you would like it to lay a bit flatter and look more structured. I prefer the scarf without the topstitching, because it is a little bit looser and billows a bit more freely.

{ visit www.jengiddens.com & click on tutorials for a PDF version of this tutorial! }